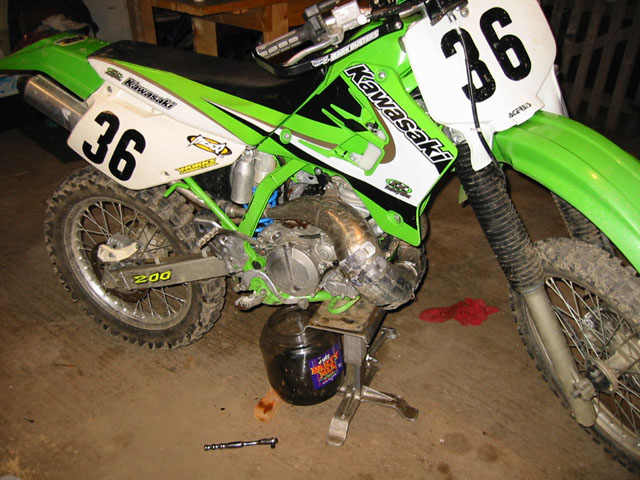
- Decide you are gonna do this yourself, it's not that hard really.
- Order a kit from somewhere. I chose the EBC Off Road KIT, it has the fibers, new steel rings and heavy duty springs. KDX's prior to 1995 had pissy little springs in them, even the stock ones on my 98 seemed a little wimpy compared to the ones I just put in (see photo later on).
- I understand Fredette sells a clutch kit that's an XR clutch and springs or some other concoction to make a better clutch. I called him but he never answered the phone so I ordered elsewhere.
- You should probably consider a clutch side gasket. I ordered one and the $3.00 spring mentioned above, but have not had to use it. My tranny doesn't leak and the gasket comes off in one piece.
- Prop up tour bike and drain the tranny. (Do I really need to explain this part ?)
Now the fun begins...
- Release all tension from the clutch cable and disconnect it at the clutch lever on the clutch cover.
- Remove the 6 bolts from the clutch cover.
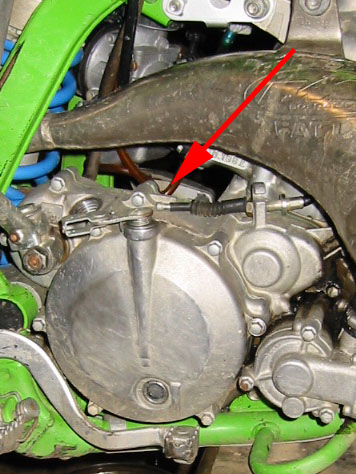
- Take this opportunity to inspect the cam that actuates the clutch. Look for excessive wear here.
- Also note the bolts from prior step. In my case I have one Long one, one with a washer (in the bike in the photo, long one on top). The other 4 are the same.
- Also inspect your gasket. You did order one right ? If you did you probably won't need it. (Murphy's Law).


- First pull out the through out bearing and pin. (Those might not be the real names, but that's what they were called in my 67 mustang, and I put a lot of those and clutches in that.) Set them aside, check the bearing, should still be good and smooth. Don't lose the little washer (see photo).
- Take of the 4 bolts holding the pressure plate and springs off. Slowly, release them all evenly so nothing goes 'ping' across the garage.
- Now we need to remove the basket. There is one large nut. You can buy a clutch holder tool, or you can make one, or you can slap it in 4th gear and stand on the break. (my favorite technique). Break it loose and slide the basket out.


- Set the basket aside, NOTICE THE WASHER, don't lost that.
- NOTICE THE PATTERN to the fibers, (red arrows in photo) all are tabs are the same EXCEPT the outside one.
- Lube up the new fibers (per manufacturers specifications (some kits say they don't need it).

- Take this time to look around the bottom. Clean out any crap, metal filings would be a bad thing, should just be some clutch debris.
- I prefer to put the basket with fibers together outside of the bike. Watch that little washer (prior step). Slide it back on and torque to down. Install the springs and pressure plate. If you took the ignition cover off (Because you used a flywheel holder), be very careful. The manual calls for like 78 inch pounds. That will break it, just put it on tight enough.
- Add fluids, adjust the cable and ride.

That wasn't hard now was it ?
